Welcome U Channel  Advanced Materials Technology (Shanghai) Co., Ltd
Single section steel

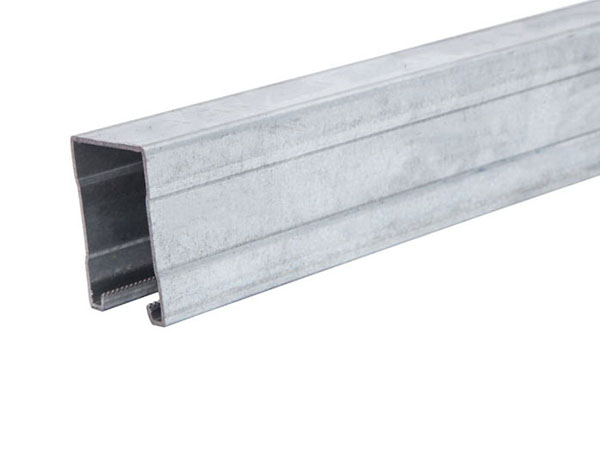
U-channel steel R62

U-channel steel R62

Product Introduction:

Surface treatment - hot dip galvanizing; pre galvanizing; electro galvanizing; stainless steel

Weight - 3.42kg/m (weight of U-groove on hot dip galvanized surface)

Thickness - 2.0 mm, 2.5 mm

Specification - 41mm × 62mm

Standard length - 3m or 6M


Product Parameters


R62-25
 Uniform loadConcentrated loadAxial load

Horizontal support spacing

(mm)

Allowable compressive load and deflectionUltimate bearing capacity(Kg)Allowable compressive load and deflectionUltimate bearing capacity(Kg)

Center of gravity load(Kg)

Acting on surface load(Kg)

load

(Kg)

deflection

(mm)

load/

200

deflection/

360

load

(Kg)

deflection

(mm)

load/

200

deflection/

360

50017890.68178917898940.5489489465102784
10008942.708948944472.1644744743751871
15005966.085964082984.8729825532951409
200044710.814132292238.6322314326421130
250035716.8626414617813.45165912205943
300029824.3318310114919.46114631892809


Product modelX-X axisY-Y axis
Ixx cm4Zxx cm3Rxx cmLyy cm4Zyy cm3Ryy cmArea cm2
R62-2520.616.272.1913.176.381.754.30

l-惯性矩 Z-抗弯矩 r-回转半径 Area-截面面积

Product Details

① U-channel steel, as the basic stress component of the support and hanger, can be configured with various parts to form a complete structural support system.

② It is convenient for installation, maintenance and expansion of various pipelines, cable trays and equipment.

③ The optimized cross-section design determines the high bearing capacity of U-channel.

④ The tooth design of the inner edge of U-channel steel makes the connection between channel steel and spring nut safer.

⑤ It can be connected with wall, floor, ceiling and other structures.

⑥ A variety of instant noodles can be used in different environments.


Installation:

① After the embedded spring nut is rotated 90 degrees, it moves along the groove body to fix the nut at the required position of the nut.

② Install the connection piece.

③ Connect other components.

④ According to the installation torque of spring nut, tighten the bolt.

5.png